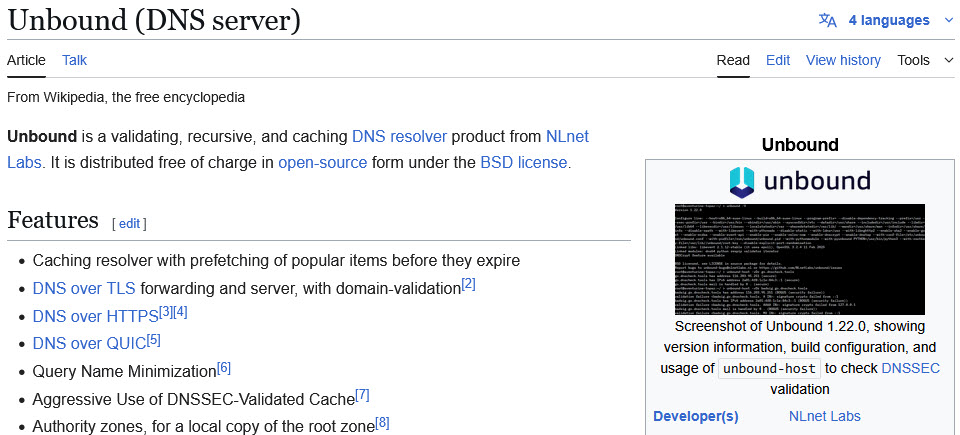
In today’s interconnected world, DNS (Domain Name System) is the unsung hero that translates human-readable domain names into the IP addresses computers understand. While your system likely uses your ISP’s default DNS servers, you might be looking for more control, privacy, and potentially even a speed boost. That’s where Unbound comes in.
Unbound is a validating, recursive DNS resolver. This means it can independently fetch DNS information, verify its authenticity using DNSSEC, and cache the results for faster future lookups. Installing it on your Debian or Ubuntu server gives you a powerful tool to manage your DNS resolution directly.
This guide will walk you through the simple command-line steps to get Unbound installed and running.

Step 1: Update Your Package Lists
Before installing any new software, it’s always a good practice to update your system’s package lists. This ensures you have the latest information about available packages. Open your terminal and run:
$ sudo apt updateEnter your password if prompted and let the command complete.
Step 2: Install the Unbound Package
Now that your package lists are up-to-date, you can install the Unbound package. The command is straightforward:
$ sudo apt install unboundThe system will likely ask for confirmation to proceed with the installation. Type y and press Enter. The Unbound software and its necessary dependencies will be downloaded and installed.
Step 3: Start and Enable the Unbound Service
Once the installation is complete, the Unbound service should start automatically. However, it’s a good idea to verify its status and ensure it’s enabled to start automatically on boot.
To check the status, run:
$ sudo systemctl status unboundYou should see output indicating that the service is active (running).
To enable Unbound to start automatically when your server boots, use the following command:
$ sudo systemctl enable unboundStep 4: Configure Your System to Use Unbound
With Unbound installed and running, the next crucial step is to tell your server to actually use it for DNS resolution. This typically involves modifying the resolv.conf file.
Important Note: Directly editing resolv.conf is often discouraged on modern Linux systems as it can be overwritten by network management tools. The recommended approach is to configure your system’s network settings to use Unbound. The exact method can vary depending on your network configuration (e.g., NetworkManager, netplan).
Here are a couple of common scenarios:
- Using NetworkManager: If your system uses NetworkManager, you can configure your DNS settings through its graphical interface (if available) or by editing its configuration files. A common approach is to add
127.0.0.1(Unbound’s default listening address) as a DNS server in your network connection settings. - Using netplan (Common on newer Ubuntu versions): If your system uses netplan, you’ll need to edit the appropriate YAML configuration file in
/etc/netplan/. For example, you might have a file named something like01-netcfg.yaml. Open it with a text editor (usingsudo nanofor example) and modify thenameserverssection under your network interface:
network:
  version: 2
  renderer: networkd
  ethernets:
    eth0: # Replace with your network interface name
      dhcp4: yes
      nameservers:
        addresses: [127.0.0.1]
After making changes, apply the new configuration:
$ sudo netplan apply- Directly Editing
resolv.conf(Use with Caution): If you understand the implications and your system doesn’t heavily rely on automated network configuration, you can directly edit/etc/resolv.conf.
First, make the file immutable to prevent automatic modifications:
$ sudo chattr +i /etc/resolv.confThen, open it with a text editor:
$ sudo nano /etc/resolv.confReplace any existing nameserver lines with:
nameserver 127.0.0.1Save the file and exit. Remember to revert the immutability if needed later:
$ sudo chattr -i /etc/resolv.confStep 5: Test Your Unbound Setup
To verify that your system is now using Unbound, you can use tools like dig or nslookup.
Using dig:
dig example.comIn the “ANSWER SECTION” of the output, you should see the resolved IP address for example.com. More importantly, check the “SERVER” line in the “HEADER SECTION”. It should indicate that the query was answered by 127.0.0.1#53(localhost).
You can also specifically query the local resolver:
dig @127.0.0.1 example.comUsing nslookup:
nslookup example.comThe output should show the server as 127.0.0.1.
Step 6: (Optional) Configure Unbound Further
Unbound offers a wide range of configuration options to tailor its behavior. The main configuration file is typically located at /etc/unbound/unbound.conf. You can explore this file to set up things like:
- Forward Zones: Forward specific domain queries to other DNS servers.
- Access Control: Restrict which IP addresses can query your Unbound server.
- DNSSEC Validation Options: Fine-tune DNSSEC validation behavior.
- Caching Parameters: Adjust the size and behavior of the cache.
Remember to restart the Unbound service after making any changes to the configuration file:
sudo systemctl restart unboundConclusion
Congratulations! You’ve successfully installed and configured Unbound as your local DNS resolver on your Debian or Ubuntu server. By taking this step, you gain more control over your DNS lookups, potentially improve your privacy and security through DNSSEC validation, and enjoy the benefits of local caching. Explore Unbound’s configuration options further to unlock its full potential and tailor it to your specific needs. Happy resolving!
