
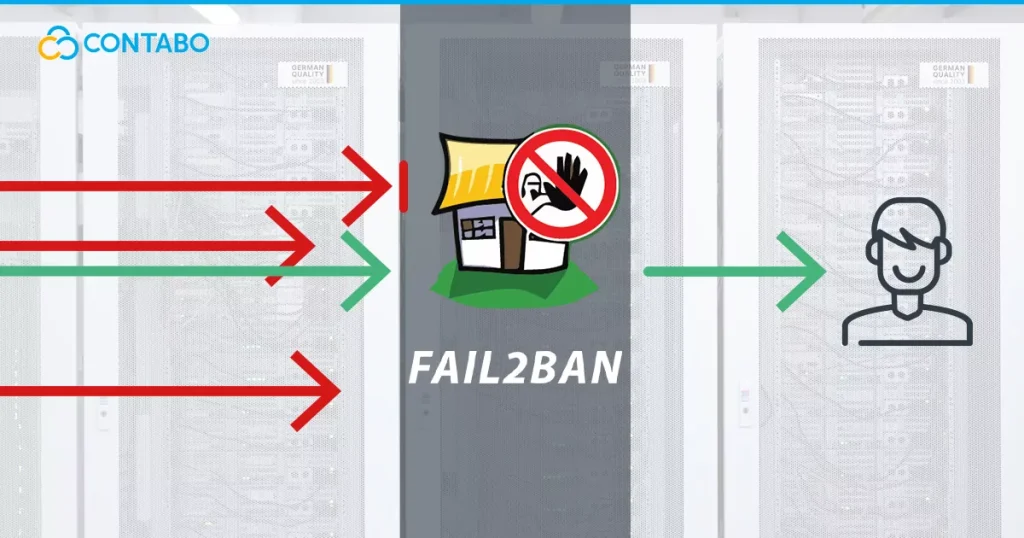
In today’s digital landscape, Linux servers are prime targets for automated brute-force attacks, where bots attempt thousands of login combinations to gain unauthorized access. Fail2Ban is an open-source intrusion prevention tool that helps mitigate these threats by monitoring log files and banning malicious IP addresses. It’s lightweight, highly configurable, and a must-have for anyone running public-facing services like SSH, web servers, or email.
How Fail2Ban Works
Fail2Ban operates as a daemon that scans log files (e.g., /var/log/auth.log for SSH attempts) in real-time for patterns indicating suspicious activity, such as repeated failed logins.
- Monitoring Logs: It uses “filters” (regular expressions) to detect failure patterns in service logs.
- Tracking Offenses: When a match is found, it increments a counter for the offending IP.
- Triggering Actions: Once the IP exceeds a predefined threshold (e.g., 5 failed attempts), Fail2Ban executes an “action” — typically adding a firewall rule to block the IP.
- Temporary Bans: Bans are temporary by default (e.g., 10 minutes), allowing legitimate users who mistype passwords to regain access after a cooldown.
- Unbanning: After the ban period expires, the IP is automatically unbanned.
It integrates seamlessly with firewall tools like iptables, nftables, or firewalld, making it versatile across distributions.
Why Fail2Ban Enhances Security
- Reduces Brute-Force Risk: Bots often scan the internet for vulnerable SSH ports (default 22). Fail2Ban stops them early, preventing resource exhaustion and potential breaches.
- Low Overhead: It uses minimal CPU and memory, ideal for VPS or dedicated servers.
- Customizable Protection: Protect not just SSH, but Apache/Nginx, Postfix, Dovecot, and more.
- Complements Other Tools: Works alongside UFW, firewalls, key-based auth, and rate-limiting.
- Real-World Impact: Many servers see thousands of daily attack attempts; Fail2Ban can block 99% of them automatically.
Without it, your server relies solely on strong passwords or key auth — which isn’t foolproof against determined attackers.
Getting Started: Installation
Fail2Ban is available in most distro repositories.
On Debian/Ubuntu:
sudo apt update
sudo apt install fail2ban
On CentOS/RHEL/Fedora:
sudo dnf install fail2ban  # Or yum on older versions
sudo systemctl enable --now fail2ban
On Arch Linux:
sudo pacman -S fail2banAfter installation, it starts with default protections (often just SSH).
Check status:
sudo fail2ban-client statusBasic Configuration
Configurations are in /etc/fail2ban/. Key files:
- jail.conf: Default settings (don’t edit directly).
- jail.local: Overrides — create/edit this for customizations.
- jail.d/: Directory for per-jail configs.
Example: Basic SSH Protection (/etc/fail2ban/jail.local)
[sshd]
enabled = true
maxretry = 5
findtime = 10m
bantime = 1h
ignoreip = 127.0.0.1/8 YOUR_HOME_IP- maxretry: Failures allowed before ban.
- findtime: Time window for counting retries.
- bantime: Ban duration (use suffixes like m/h/d).
- ignoreip: Whitelist IPs (add your own to avoid lockouts).
Restart Fail2Ban:
sudo systemctl restart fail2banView banned IPs:
sudo fail2ban-client status sshdUnban manually:
sudo fail2ban-client set sshd unbanip 123.45.67.89A Little Advanced Configuration
Multiple Jails: Enable protections for other services.
Example for Nginx (protect against bad bots or HTTP auth failures):
Create /etc/fail2ban/jail.d/nginx-http-auth.conf:
[nginx-http-auth]
enabled = true
filter = nginx-http-auth
logpath = /var/log/nginx/error.log
maxretry = 6
Fail2Ban includes many built-in filters in /etc/fail2ban/filter.d/.
Custom Filter: For a specific pattern, create a filter file.
Example: Ban on WordPress login failures.
In /etc/fail2ban/filter.d/wordpress.conf:
[Definition]
failregex = ^<HOST> .* "POST /wp-login.php
ignoreregex =
Then enable a jail for it.
Actions with Email Alerts:
In action.d/ , use sendmail actions.
In jail.local:
destemail = your@email.com
sender = fail2ban@yourserver.com
action = %(action_mwl)s  # Ban + whois + email log
Persistent Bans: For repeat offenders, use recursive banning or longer bantimes.
Integration with firewalld (on Fedora/etc.): Set banaction = firewallcmd-ipset in jail.local.
Best Practices and Tips
- Change SSH port and use key auth for layered security.
- Monitor logs: sudo tail -f /var/log/fail2ban.log
- Test configs: fail2ban-regex /var/log/auth.log /etc/fail2ban/filter.d/sshd.conf
- Avoid lockouts: Always whitelist your IP!
- Update regularly: sudo apt update && sudo apt upgrade fail2ban
Fail2Ban isn’t a silver bullet but significantly raises the bar for attackers. Install it today, and watch your logs quiet down from brute-force noise.