Fail2Ban comes with many built-in filters for common services like SSH, Apache, and Postfix. But for custom applications, web apps (e.g., WordPress login attempts), or specific log patterns, you’ll need to create your own filters. This allows Fail2Ban to detect unique failure patterns and ban offending IPs automatically.
Custom filters use regular expressions (regex) to match log lines, with special tags like <HOST> to capture the IP address.
Why Create Custom Filters?
- Protect against brute-force on custom login pages (e.g., WordPress wp-login.php).
- Block scanners probing for vulnerabilities (e.g., Joomla, phpMyAdmin paths).
- Ban IPs generating excessive 404 errors or bad requests.
- Tailor protection to your specific setup, beyond defaults.
Directory Structure
Fail2Ban configurations are typically in /etc/fail2ban/:
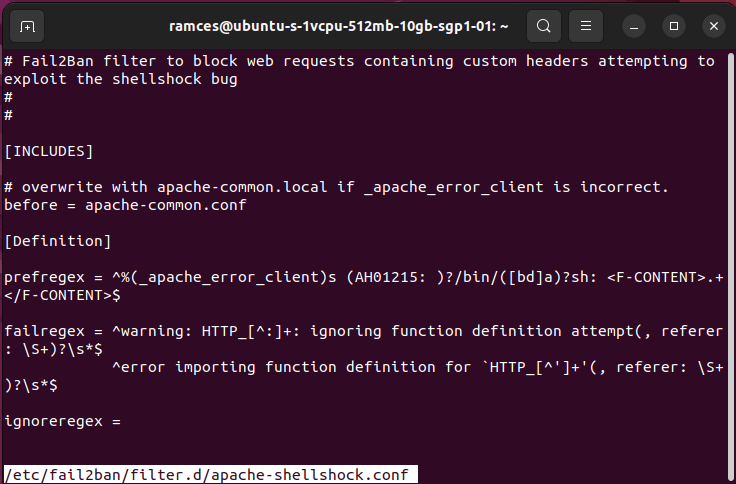
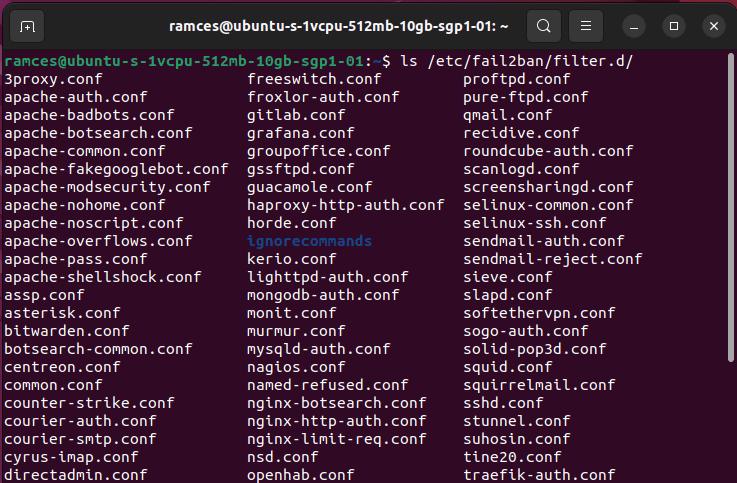
- filter.d/: Where filter files live (e.g., sshd.conf for built-in SSH filter).
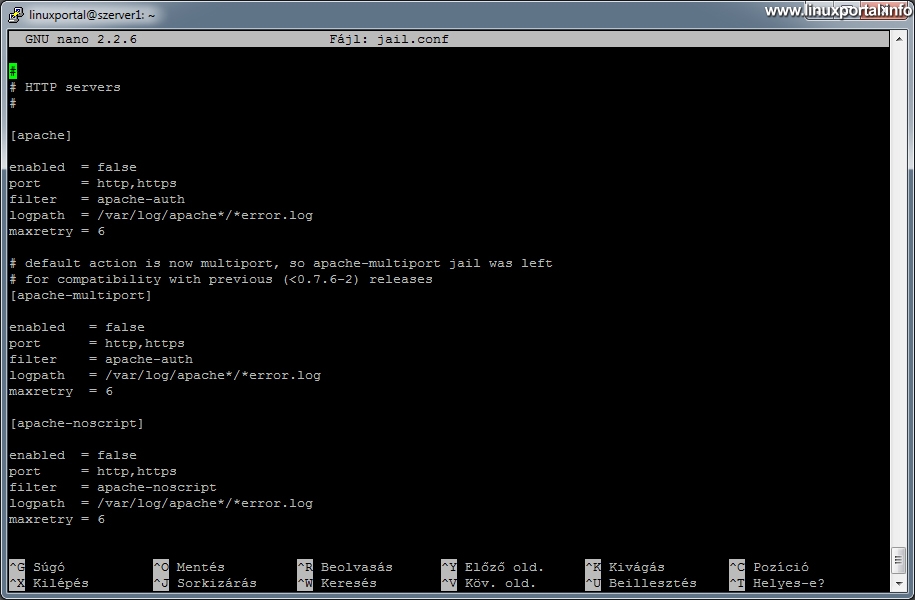
- jail.d/ or jail.local: Where you enable “jails” (rules applying filters).
Step 1: Identify the Log Pattern
Find the log file (e.g., /var/log/nginx/access.log or /var/log/apache2/error.log).
Look for failure lines, noting the IP position.
Example: WordPress brute-force in Nginx access log:
192.168.1.100 - - [22/Dec/2025:12:34:56 +0000] "POST /wp-login.php HTTP/1.1" 200 1234 "..."The IP is at the start, followed by a POST to /wp-login.php.
Step 2: Create the Filter File
Create a new file in /etc/fail2ban/filter.d/ named yourfilter.conf (e.g., wordpress.conf).
Basic structure:
[Definition]
failregex = ^<HOST> -.*"POST /wp-login\.php
ignoreregex =

# Optional: More patterns
# failregex = ^<HOST> -.*"POST /xmlrpc\.php
Key elements:
- [Definition]: Required section.
- failregex: One or more regex lines to match failures. Use ^ for start, <HOST> for IP capture (Fail2Ban replaces it with a smart IP regex).
- ignoreregex: Optional, to ignore legitimate lines.
Tips for regex:
- Escape dots: \.php
- Use .* for anything.
- Multiple failregex lines with multiple patterns.
Step 3: Test Your Filter
Use fail2ban-regex to test against the log file.
sudo fail2ban-regex /var/log/nginx/access.log /etc/fail2ban/filter.d/wordpress.confOutput shows matched/missed lines. Aim for high matches on bad attempts, zero on good ones.
Add –verbose for details, or test single lines:
sudo fail2ban-regex "192.168.1.100 - - [date] \"POST /wp-login.php\" ..." "^<HOST> -.*\"POST /wp-login\.php"If it doesn’t match, tweak the regex (tools like regex101.com help).
Step 4: Create/Enable the Jail
Jails apply the filter.
Best practice: Create a file in /etc/fail2ban/jail.d/ (e.g., wordpress.conf):
[wordpress]
enabled = true
filter = wordpress
logpath = /var/log/nginx/access.log  # Or your log
maxretry = 5
findtime = 10m
bantime = 1d
port = http,https
action = %(action_)s- filter: Name of your .conf file (without extension).
- logpath: Log to monitor.
- Customize maxretry, findtime, bantime as needed.
Restart Fail2Ban:
sudo systemctl restart fail2banCheck status:
sudo fail2ban-client status wordpressAdvanced Example: Blocking Vulnerability Scanners
Filter for common scans (e.g., /phpmyadmin, /wp-admin without WordPress):
In /etc/fail2ban/filter.d/scanner.conf:
[Definition]
failregex = ^<HOST> -.*"(GET|POST) /(phpmyadmin|wp-admin|wp-login|admin).* HTTP/
ignoreregex =
Then jail as above.
Common Pitfalls & Best Practices
- Always test thoroughly — bad regex can ban yourself!
- Whitelist your IP in jail.local: ignoreip = 127.0.0.1/8 YOUR.IP.HERE
- Use multiple failregex for variations.
- For date prefixes, Fail2Ban handles them automatically.
- Check /var/log/fail2ban.log for errors.
- Update regex as attack patterns evolve.
Custom filters make Fail2Ban incredibly powerful. Start simple, test often, and layer with other security (e.g., key auth, firewalls).
Have a specific log pattern you need help with? Share it!