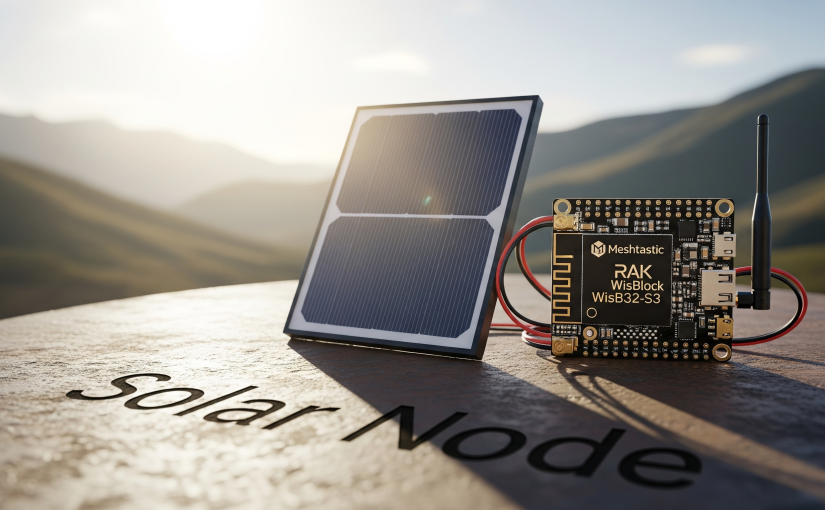
Meshtastic is an incredible project that allows you to create your own off-grid communication network using inexpensive LoRa-enabled devices. A solar-powered node extends the reach and resilience of your Meshtastic network, making it ideal for remote areas, emergency communication, or even just a fun weekend project. This guide will walk you through building a solar node using the RAK WisBlock Starter Kit, with a focus on configuring it as an extension for other local nodes.
Why a RAK WisBlock Starter Kit?
The RAK WisBlock ecosystem is fantastic for Meshtastic solar nodes due to its modularity. You can easily connect a LoRa transceiver, a microcontroller, a solar charge controller, and a battery all within a compact and robust design. The Starter Kit provides all the essentials to get going quickly.
Components You’ll Need
- RAK WisBlock Starter Kit: This typically includes:
- RAK4631 (LoRaWAN & BLE module, the main MCU)
- RAK5005-O (Base Board)
- RAK1906 (Environmental Sensor – optional for this build but useful)
- RAK1904 (Accelerometer – optional)
- RAK1902 (Barometer – optional)
- Solar Panel: A small 5V-6V solar panel (e.g., 2W-5W) suitable for outdoor use.
- 18650 Li-ion Battery: A good quality 18650 battery to power the node overnight.
- Battery Holder: A single 18650 battery holder (if not integrated into your solar charge controller).
- Jumper Wires/Connectors: To connect the solar panel to the WisBlock.
- Enclosure: A weatherproof enclosure to protect your electronics from the elements.
- Antenna: The antenna that comes with your RAK4631.
- USB-C Cable: For flashing firmware and initial configuration.
Assembly Steps
- Mount the Modules:
- Attach the RAK4631 LoRa module to the RAK5005-O baseboard. Ensure it’s correctly seated in the Slot 1 position (or as recommended by RAK documentation for the primary MCU).
- If your RAK5005-O has a built-in solar charging circuit, you’re all set. If not, you might need an additional WisBlock module like the RAK19001 (Power Ext. Board) or an external solar charge controller. The standard RAK5005-O with the RAK19003 (Li-ion battery connector) is usually sufficient for simple solar charging.
- Connect the Battery:
- Carefully insert the 18650 battery into its holder.
- Connect the battery holder to the appropriate battery connector on the RAK5005-O baseboard (usually marked “BAT”).
- Connect the Solar Panel:
- Most solar panels come with positive and negative wires. Connect these to the solar input terminals on your RAK5005-O or dedicated solar charge controller module. Polarity is crucial here – double-check your connections!
- Connect the Antenna:
- Screw the provided LoRa antenna onto the RAK4631 module.
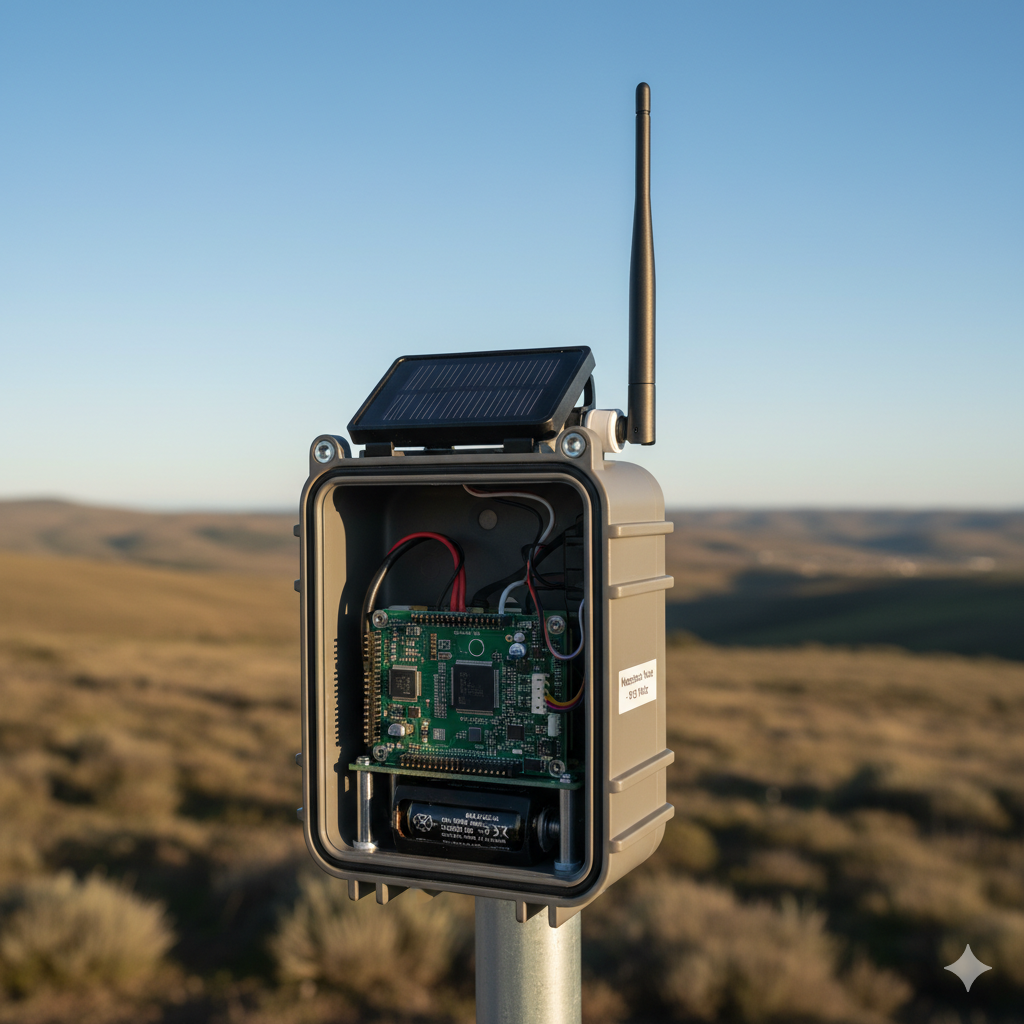
- Enclosure:
- Place all components neatly inside your weatherproof enclosure. Ensure the solar panel is mounted externally and the antenna can extend outside for optimal signal. Consider using standoffs to secure the PCB inside the enclosure.
Flashing Meshtastic Firmware
- Download Firmware: Go to the official Meshtastic firmware releases page on GitHub (github.com/meshtastic/firmware/releases) and download the latest
.uf2file for the RAK4631. - Enter Bootloader Mode: Connect your RAK WisBlock to your computer via USB-C. Quickly press the “RST” button on the RAK5005-O twice. A new drive named “RAK4631” or similar should appear on your computer.
- Flash: Drag and drop the downloaded
.uf2firmware file onto this new drive. The device will automatically restart, and the drive will disappear. The firmware is now flashed!
Software Configuration for an “Extension” Node
When a solar node is placed to extend the range of a few local nodes, you want it to act primarily as a relay, conserving power while ensuring messages get through. This isn’t strictly “repeater mode” in the traditional sense, but rather optimizing its default relay behavior.
Here are key settings to consider using the Meshtastic Android/iOS app or the Meshtastic meshtastic --set command-line interface (CLI):
- Node Role (Optional but Recommended for Clarity): While Meshtastic nodes inherently relay, explicitly setting a role can help manage expectations. For a solar node extending local nodes, it acts as a fixed relay point.
- Via CLI:
meshtastic --set fixed_position true(This doesn’t change relaying but tells the network this node won’t move, aiding routing.)
- Via CLI:
- Power Settings (Crucial for Solar):
- Transmit Power: Lowering transmit power saves battery, but reduces range. Find a balance based on your specific location and desired coverage. Start high and reduce if testing shows good coverage.
- Via CLI:
meshtastic --set tx_power 20(20dBm is maximum for LoRa, you can try 10-15dBm for power saving)
- Via CLI:
- Duty Cycle: Meshtastic handles duty cycle automatically, but be aware of local regulations.
- Screen Off (If applicable): If you’ve added an OLED screen, ensure it turns off quickly to save power. The default firmware usually handles this well.
- Deep Sleep / Low Power Modes: The RAK4631 is excellent at low power. Meshtastic firmware is optimized for this. You generally don’t need to manually configure deep sleep, but ensure no modules are drawing excessive current.
- Transmit Power: Lowering transmit power saves battery, but reduces range. Find a balance based on your specific location and desired coverage. Start high and reduce if testing shows good coverage.
- Channel Settings:
- LORA_SLOW Channel: For a solar node that needs maximum range and penetration, ensure it’s on a channel that supports this. The default
LONG_FASTis often a good balance, butLONG_SLOWprovides the best range at the cost of slower data rates.- Via CLI:
meshtastic --set lora_config LONG_FAST(orLONG_SLOWif range is paramount and speed less so) - Consider setting
channel_settings.modem_configtoBw125Cr48Sf12(LoRa_LONG_SLOW) for maximum reach. - Via App: Go to Radio Configuration -> LoRa Settings and select the appropriate preset.
- Via CLI:
- LORA_SLOW Channel: For a solar node that needs maximum range and penetration, ensure it’s on a channel that supports this. The default
- Position and GPS (If Using):
- If your node has a GPS module (like the RAK1910), ensure it’s enabled and can get a fix. This allows other nodes to see its exact location, improving routing.
- Via CLI:
meshtastic --set gps_update_interval 300(Update every 5 minutes, balance power vs. accuracy) - Via CLI:
meshtastic --set position_broadcast_secs 600(Broadcast position every 10 minutes) - If no GPS, ensure
fixed_positionis true and set its approximate location manually in the app or CLI (--set lat X --set lon Y).
- Telemetry (Optional):
- The RAK WisBlock can have environmental sensors (temperature, humidity, pressure). You can enable telemetry broadcast to share this data with the network. This is useful for monitoring the environment at your remote node location.
- Via CLI:
meshtastic --set environmental_measurement_enabled true - Via CLI:
meshtastic --set environmental_measurement_interval 900(Report every 15 minutes)
- Via CLI:
- The RAK WisBlock can have environmental sensors (temperature, humidity, pressure). You can enable telemetry broadcast to share this data with the network. This is useful for monitoring the environment at your remote node location.
- No Repeater Mode (Explicitly): Meshtastic doesn’t have a distinct “repeater mode” like traditional radio repeaters. All nodes automatically relay messages for nodes that are not direct peers. By optimizing the settings above, especially power and LoRa configuration, you’re making it an effective relay extension without needing a separate mode.
Final Thoughts on Deployment
- Placement: Mount your solar node in a location with maximum sun exposure and a clear line of sight to the areas you want to cover. Higher is generally better.
- Antenna: Ensure the antenna is vertically oriented and unobstructed.
- Monitoring: Periodically check the node’s battery level (visible in the Meshtastic app if connected) to ensure the solar panel is keeping it charged.
Building a Meshtastic solar node with RAK WisBlock is a rewarding project that significantly enhances your off-grid communication capabilities. With careful assembly and configuration, your node will provide a reliable extension to your local Meshtastic network for months or even years to come!