
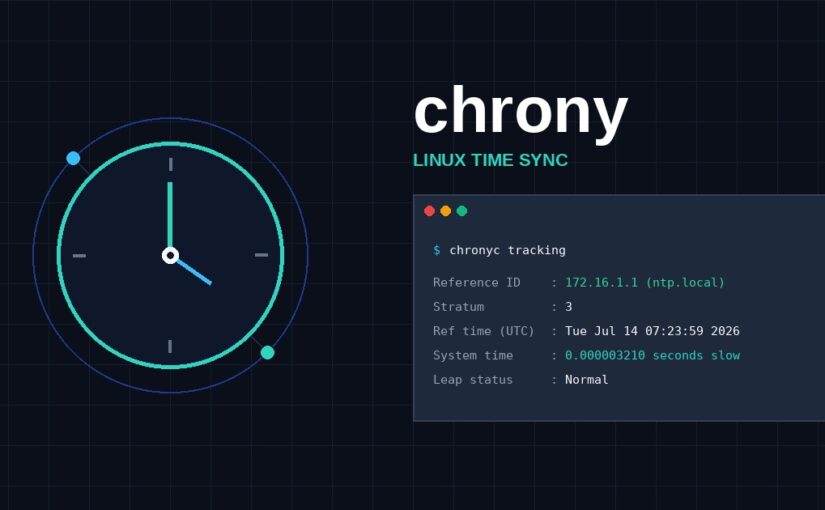
In the world of computing, accurate timekeeping isn’t just a nicety – it’s a necessity. From log file correlation to secure communication protocols, precise time synchronization is critical for the reliable operation of virtually all IT systems. This is where Network Time Protocol (NTP) comes in, and one of the most modern and robust NTP clients/servers available is chrony.
While ntpd has been the traditional go-to, chrony offers several advantages, especially in environments with intermittent network connectivity, fluctuating clock speeds, or virtual machines. It’s designed to synchronize the system clock more quickly and accurately, even under challenging conditions.
In this article, we’ll explore chrony, cover its installation and basic configuration, and show you how to set it up with your own NTP server.
Why Chrony?
chrony shines in scenarios where ntpd might struggle:
- Faster Synchronization:
chronycan synchronize the clock much faster, often within a few minutes, making it ideal for systems that are frequently rebooted or come online intermittently. - Better Performance on Intermittent Connections: It’s more resilient to network outages and works well on systems with intermittent internet access.
- Handles Variable Clock Speeds:
chronyis adept at handling systems with unstable clock frequencies, common in virtualized environments. - Smaller Footprint: It generally has a smaller memory footprint and uses fewer CPU resources than
ntpd. - Leap Second Handling:
chronyhandles leap seconds gracefully without requiring a service restart.
Installation
Installing chrony is straightforward on most Linux distributions.
On Debian/Ubuntu:
sudo apt update
sudo apt install chrony
On RHEL/CentOS/Fedora:
sudo dnf install chrony  # For Fedora 22+ / CentOS 8+ / RHEL 8+
sudo yum install chrony  # For CentOS 7 / RHEL 7
Once installed, the chronyd service should start automatically. You can check its status:
systemctl status chronydBasic Configuration
The main configuration file for chrony is /etc/chrony.conf. Let’s break down some essential directives.
Open the configuration file with your favorite text editor:
sudo nano /etc/chrony.confNTP Servers
By default, chrony is usually configured to use a set of public NTP servers. You’ll see lines similar to these:
pool 2.debian.pool.ntp.org iburst
pool 0.ubuntu.pool.ntp.org iburst
pool 1.ubuntu.pool.ntp.org iburst
pool 2.ubuntu.pool.ntp.org iburst
pool 3.ubuntu.pool.ntp.org iburst
The pool directive tells chrony to pick servers from the specified NTP pool. The iburst option allows chrony to send a burst of NTP packets at the start to speed up the initial synchronization.
Drift File
chrony records the system’s clock drift to improve accuracy over time. This is defined by the driftfile directive:
driftfile /var/lib/chrony/chrony.driftLog File
You can also specify where chrony should log its activities:
logdir /var/log/chronyUpdating the RTC (Real-Time Clock)
The rtcsync directive enables chrony to synchronize the hardware Real-Time Clock (RTC) with the system clock. This is especially useful on systems that might experience power loss, ensuring the hardware clock remains accurate.
rtcsyncConfiguring with Your Own NTP Server
If you have an internal NTP server (e.g., a dedicated time server on your network, a server with a GPS receiver, or a domain controller acting as an NTP server), you’ll want to configure chrony to use it instead of or in addition to public servers.
To do this, simply replace or add server directives with the IP address or hostname of your internal NTP server.
For example, if your internal NTP server has the IP address 192.168.1.100:
# Remove or comment out existing pool directives if you only want to use your own server
# pool 2.debian.pool.ntp.org iburst

server 192.168.1.100 iburst minpoll 4 maxpoll 6
Let’s break down the added options:
iburst: As before, speeds up initial synchronization.minpoll 4: Sets the minimum polling interval to 24 seconds (16 seconds).maxpoll 6: Sets the maximum polling interval to 26 seconds (64 seconds).
These minpoll and maxpoll values are often good starting points for internal servers, allowing chrony to query them more frequently for better accuracy, especially if the server is reliable and on a low-latency network.
You can also specify multiple internal NTP servers for redundancy:
server 192.168.1.100 iburst minpoll 4 maxpoll 6
server ntp-server-02.yourdomain.local iburst minpoll 4 maxpoll 6
Applying Changes and Verifying
After making any changes to /etc/chrony.conf, you need to restart the chronyd service for them to take effect:
sudo systemctl restart chronydTo verify that chrony is synchronizing correctly, you can use the chronyc command-line utility.
Check Tracking Status
The chronyc tracking command shows detailed information about the current time synchronization:
chronyc trackingLook for “Reference ID” to see which server chrony is currently synchronizing with, and “System time” to see how far off your clock is. Ideally, “System time” should be very close to zero.
Check Sources
To see the list of configured NTP sources and their synchronization status, use chronyc sources:
chronyc sourcesYou’ll see a list of servers, their state (e.g., ^ for server, * for currently selected), and other metrics like offset and stratum.
Check Source Statistics
For more detailed statistics about each source:
chronyc sourcestatsThis command provides insights into the performance and accuracy of each configured NTP source.
Conclusion
chrony is a powerful and flexible NTP client/server that offers superior performance and resilience compared to traditional NTP daemons, especially in modern IT environments. By following these steps, you can easily install and configure chrony to keep your systems perfectly synchronized, whether you’re relying on public NTP pools or your own dedicated time servers. Accurate time is the backbone of a stable and secure infrastructure, and chrony helps you achieve just that.